[ad_1]
Late for school and not sure what to do with your hair? Need a cute yet easy hairstyle for a date? It will help you.
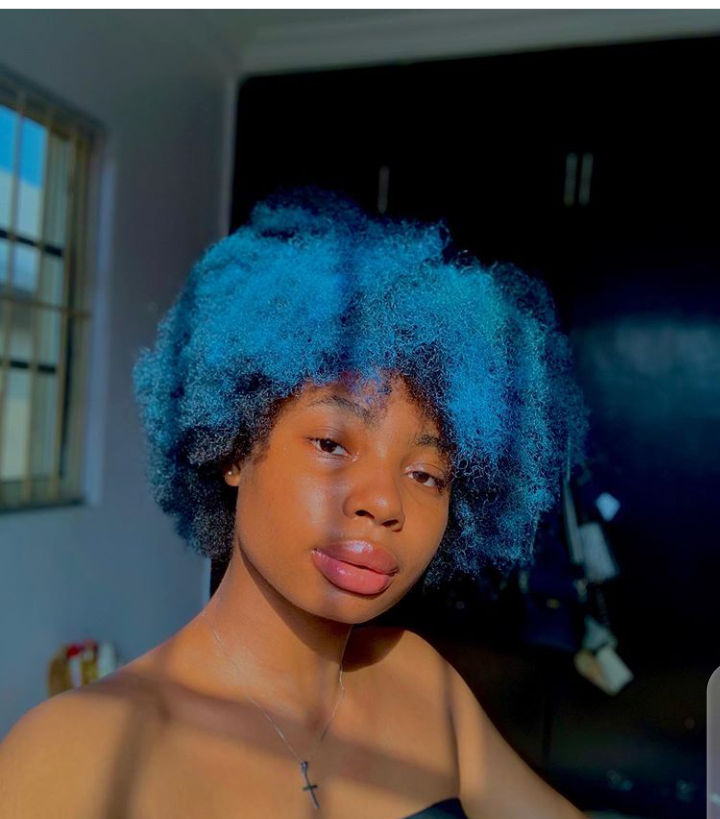
I know it’s not easy to deal with 4c natural hair (I witness it). But there are various hacks to make your natural hair journey easier and more satisfying. 4c natural hair is usually painful to comb or braid, but beauty is pain. Although there are a few things I would recommend to make your hair smooth, pretty and manageable. They are :
1. A spray bottle with water (I personally use rice water instead of regular water, it helps my hair grow better and softens it too)
2. An essential oil (this can be olive, coconut or almond oil. I use olive oil, it really softens the hair and makes it shine)
3. A pastry cream
4. Gel (please don’t take regular gel, it’s really not good for natural hair. There are gels specially made for natural hair. When buying your gel, check your hair texture to find out if you need a strong gel or a soft gel)
5. A cutting comb
6. A wide tooth comb (wide tooth combs are recommended for natural hair as they detangle your hair without cutting as much as normal combs)
7. A Denman brush (not really a necessity but it doesn’t hurt to have it all)
Getting all of that wouldn’t be that hard. These are the basic ingredients you need for any hairstyle on your hair. So let’s move on to the styles:
1. Space Buns:
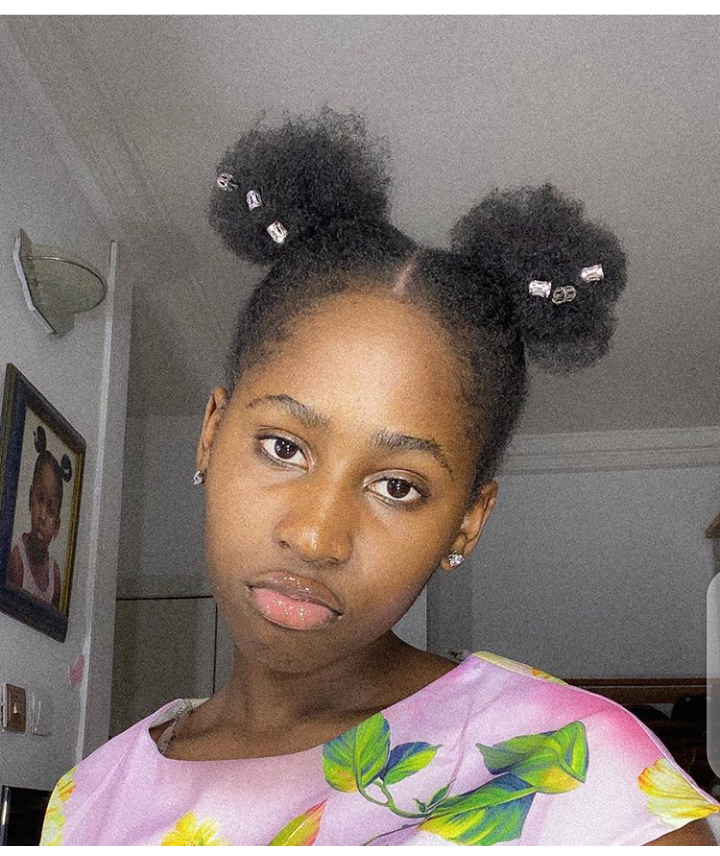
This is a really easy hairstyle that doesn’t take much time. All you need for this are two scrunchies,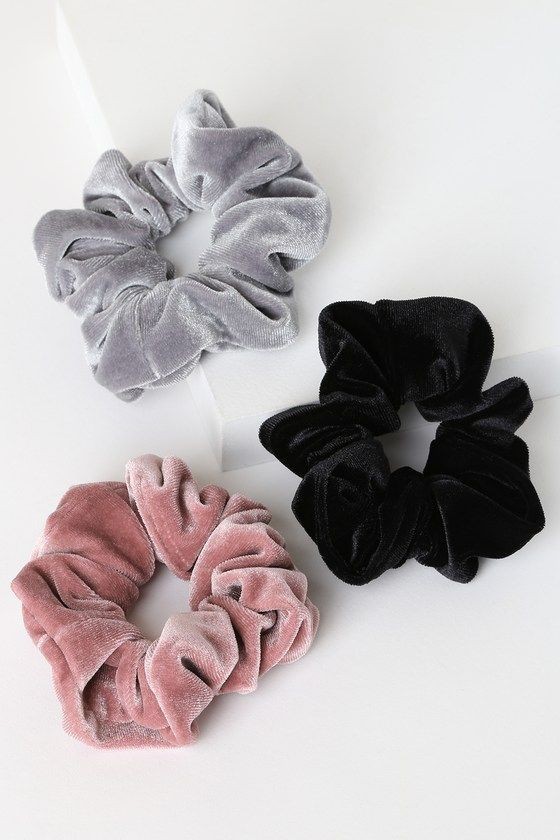 (please don’t use rubber bands on your natural hair, they cut it) and the basic ingredients I mentioned above.
First, you need to moisten your hair with the water from the spray bottle (always put water first, don’t put oil first. Oil clogs your pores and doesn’t let water in to moisturize your hair). After wetting your hair a bit, apply the oil (not too much though). Divide your hair into sections and detangle with your hands then use your wide tooth comb to finish (detangling with your hand helps reduce the speed at which your hair cuts).
After combing your hair, you are free to apply curling cream (again not too much). When that’s done, take your cutting comb and divide your hair into two vertical sections (you can make a zigzag pattern in the middle to make it cuter).
When you are done, the next phase is to put some of your styling gel in your palms. Rub the styling gel on the first half of your hair and smooth it. This will help hold the hair in place as natural hair can be very frizzy. While you’re straightening your hair, grab your scrunchie and tie it up. Let it be as if placed on top of your head and don’t take it low. Do the same for the second half. Then you are free to style your edges as you wish.
When you’re done, wrap your hair (minus the buns, wrap it around) in a silk scarf to dry. It also helps hold the gel in place. After a while, unwrap your hair and voila! You are ready to go. You can add hair clips and all that to your hair to make it more stylish. Then fluff your buns with a pick.
You can also twist two braids in front to give that cute and stylish vibe. 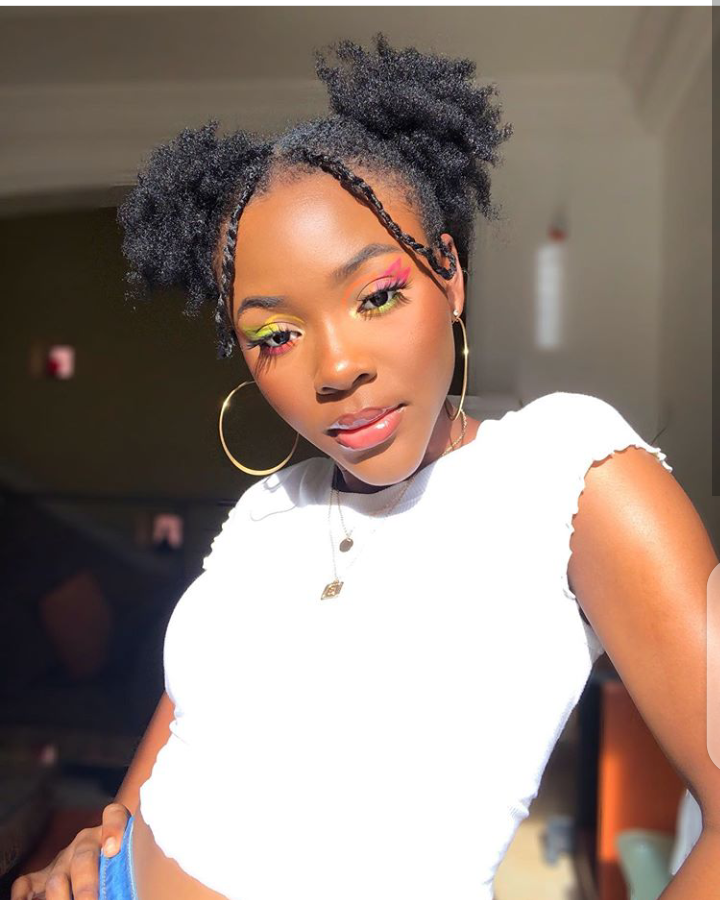
2. Detangling:
This one is quite simple. All you have to do is detangle your hair and comb it after applying the base ingredients (custard curling is optional and you don’t need styling gel for this).
After combing your hair, just use an afro comb to make it fluffy and enhance the style (you need to comb your hair well so that the curls don’t look jagged) 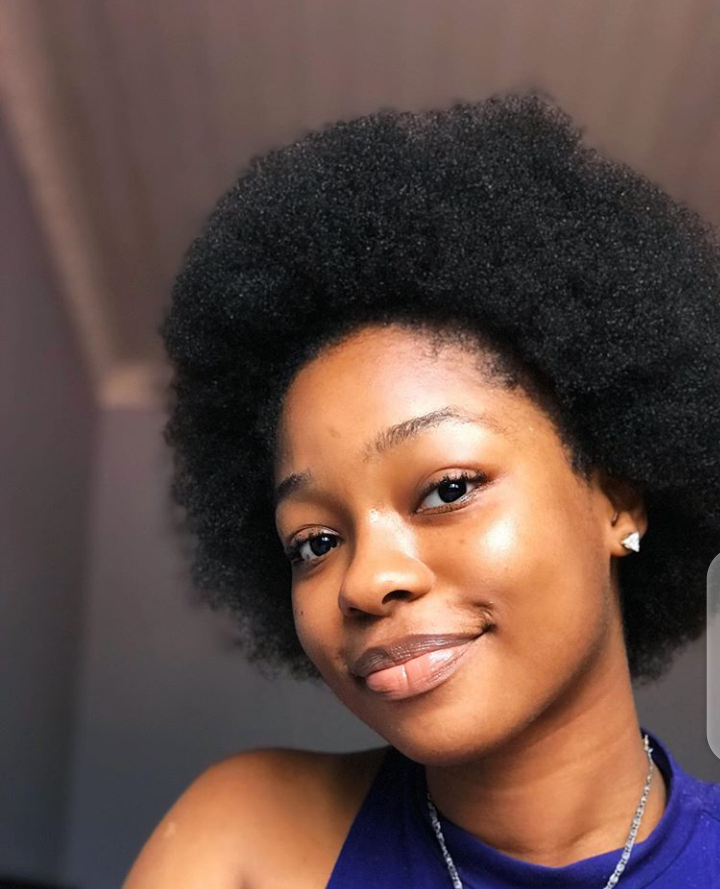
 You can also tie a very thin scarf around your edges to enhance the look. The fluff of your hair will cover the scarf. It makes him cuter. This is one of the easiest styles out there.
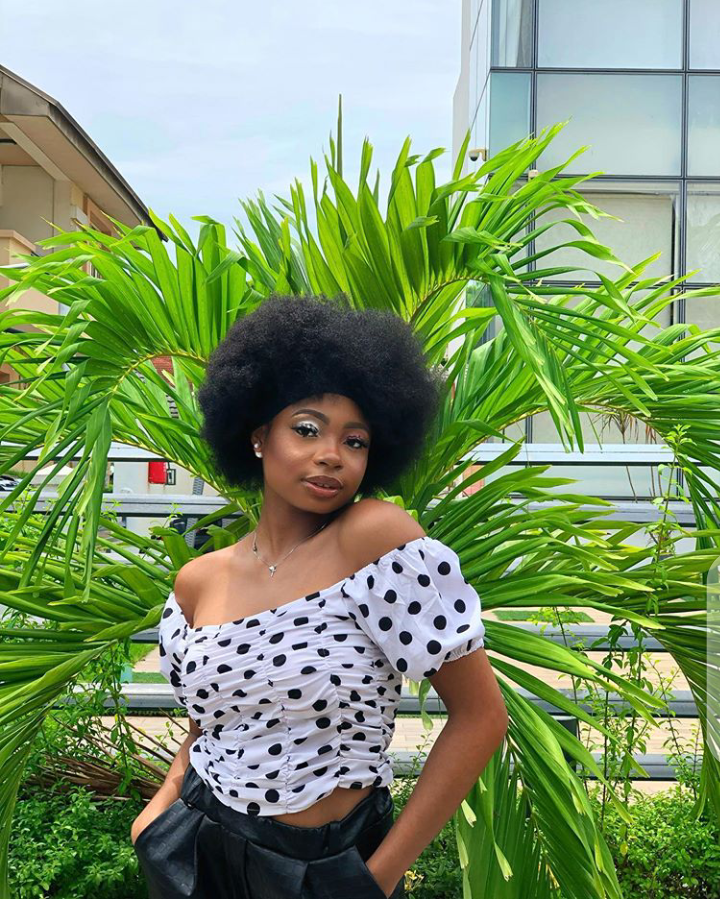
3. Braiding:
This is another equally easy style. You don’t even have to comb your hair for this, so basically how it goes; when you’re fed up with the braids or twists you’re wearing, all you have to do is lose the braids but don’t comb your hair. Spray it with the contents of your spray bottle, apply the essential oil and pastry cream, then run your fingers through the curls formed by the braids. You can lay your edges when you’re done or tie a scarf or bandana around it. Either way, it’s a pretty lazy hairstyle that gives you curls without any effort. 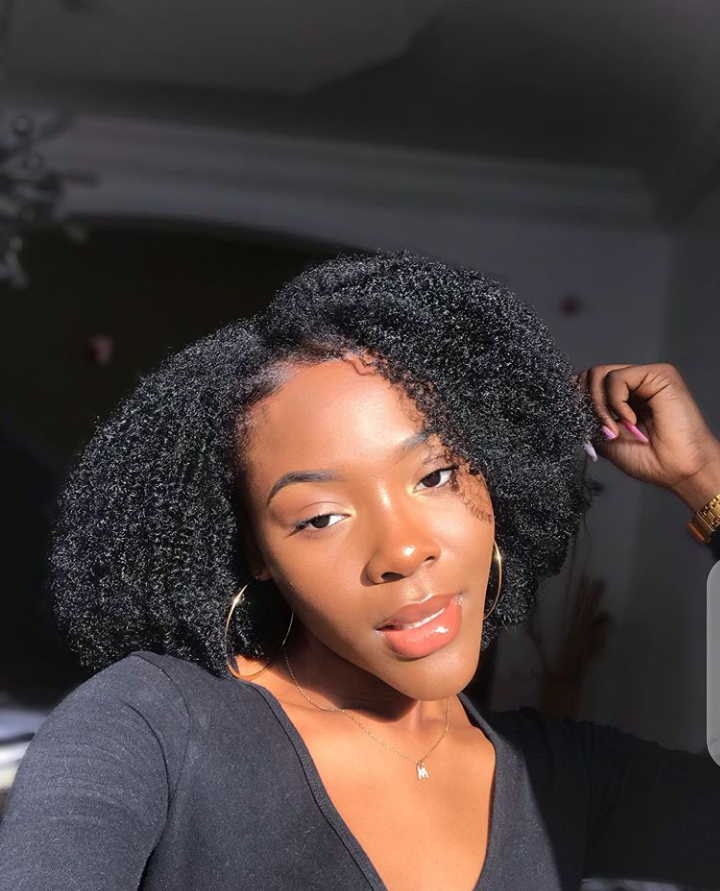
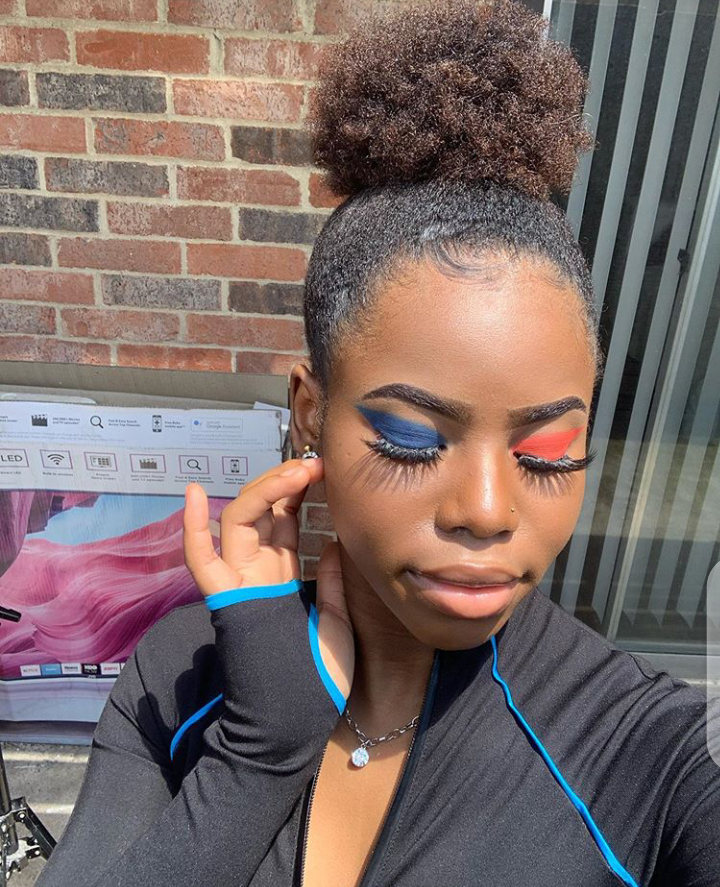
4. The high-end bun:
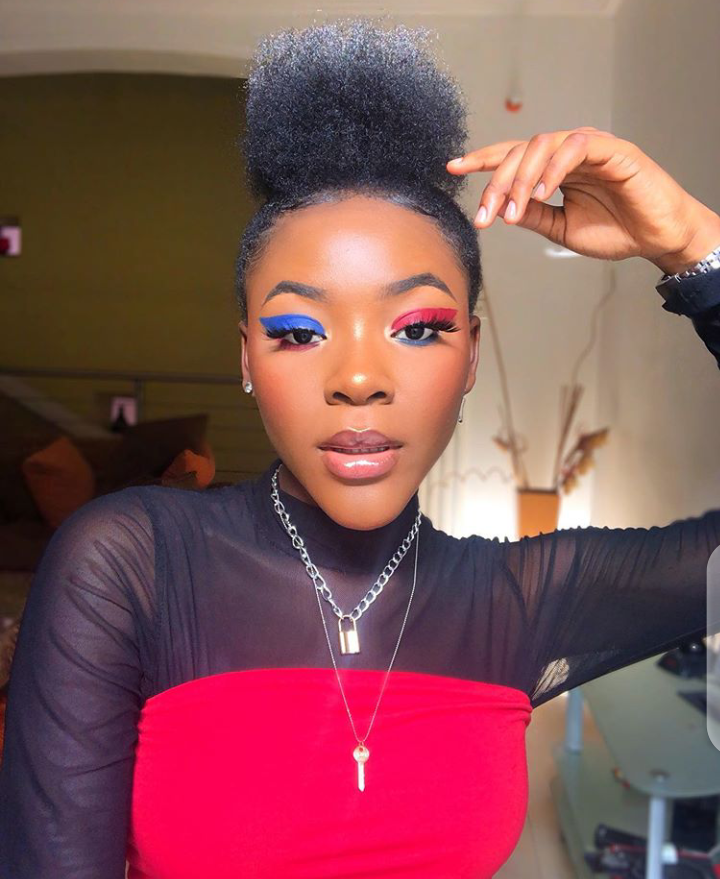 This style is somewhat similar to space buns, except it’s a single. All you have to do is comb your hair like you did with the space buns, but without dividing the hair into two sections. When you have done this, take a good amount of styling gel in your hands and comb your hair upwards. Apply the gel around the hair except on the puff. Bundle the hair just above your head and hold it tight with a scrunchie (with this particular style, the scrunchie should hold the hair tightly).
After that you can take care of your edges and then tie a scarf around your hair until it dries to help hold the gel in place and your healthy start. This look is both classy and casual.
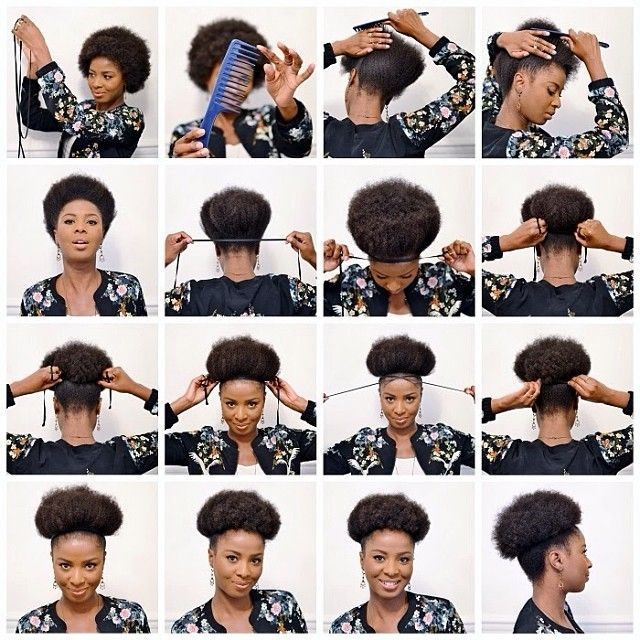
4. The Big Puff:
This hairstyle is similar to the high end bun but not quite the same. You will not need a scrunchie in this case but a very thin scarf or a lace.
All you have to do is follow the same process as the high bun, but don’t tie your hair up with the scrunchie. Ditch it for a scarf or shoelace. Place the scarf or lace at the bottom of your hair while holding the two edges in front. Tie it once and start dragging it up. Do this until you have created a huge afro on your head. Then you can lay your edges down and tie a scarf to hold it in place.
This style makes your hair look fuller than it is. It’s one of my personal favorites actually and it’s really cute.
5. The low bun:
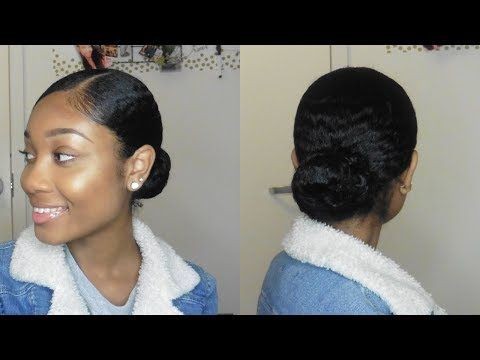
This style does not take much time. You have to bring your darling here though and it would be kinda cute if you had hair clips to put around your hair.
So basically you have to start by combing your hair as always. Then you need a very large amount of gel to pull your hair back and hold it. For this style, you can choose center, side, or no parting at all. The one that suits you best. When you finish combing it, part your hair with a trimming comb if you decided to, otherwise it’s still cute. Comb your hair back and use a Denman brush or any good brush you have to brush your hair back. As you brush your hair back, apply the gel all around. You need enough gel here, especially if your hair isn’t very long.
When you’re done with the gel and brush, hold the hair at the nape of your neck with a scrunchie and you’re done. Make your edges pretty and tie them around the hair with a scarf until it dries. You are free to embellish the style with cute hair clips. 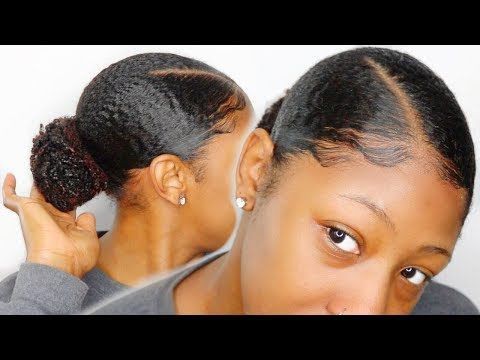
6. The Full Twist:
This style will take a bit of your time, so it’s best to do it a day before. I usually make mine the night before. This one is durable and you can style it in different ways.
So all you need are the basic ingredients. Comb your hair and apply everything except styling gel. When that’s done, take your cutting comb and divide your hair into sections (if you’re not good at dividing cleanly, you can have someone do it for you (I do). Twist everything you’ve cut until you’re done with whole hair. When you’re done, get ready to twist!
Before you start each twist, thoroughly saturate the hair with the gel to make your twists last a long time. Repeat this until you are done with all the hair. Then let it dry and you’re done! 
Disclaimer: Whatever you do, keep the heat as far away from your natural hair as possible. Always let your hair air dry. The heat destroys your pores and kills your hair.
Hope you enjoy the natural look.