[ad_1]
Interested in the art form of henna, but not sure where to start? Look no further!
Origins: Henna is thought to have originated in Egypt and was used for embellishments (much like jewelry today) and was used as a sign of respect before mum’s burial. Today, henna is used in many different cultures during important celebrations and is used to preserve tradition.
African Henna tends to include more geometric shapes, Indian Henna (aka Mehendi) focuses on floral designs, and Arabic Henna tends to space designs only on the palms.
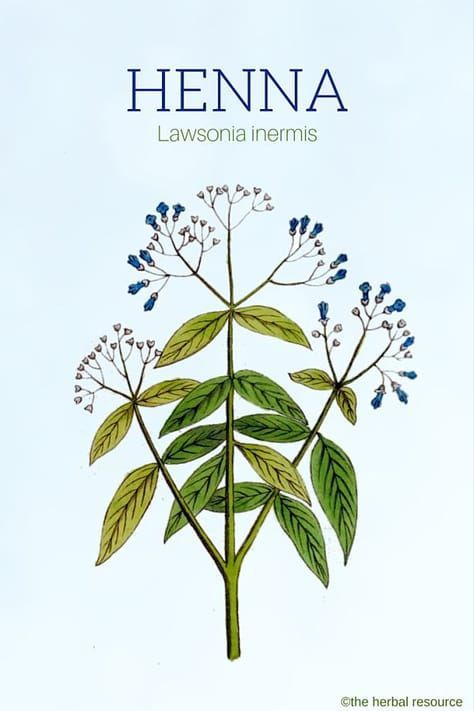
How henna is created: The henna paste used for the designs is created from the henna plant (Lawsonia Inermis). After being ground, lemon juice and water are added until the consistency is thick, viscous but still easily malleable.
The easiest way to find henna is to simply buy a pre-made cone at a local Indian/Middle Eastern bazaar. There are also plenty that you can buy online! 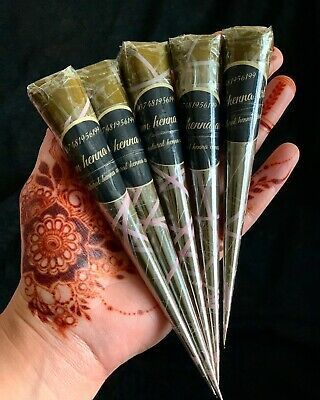
Alright, let’s see how you can start creating masterpieces like this:
Credit: @hennabydivya
See this post on Instagram
Well, it’s fair to say that you can’t start with all those complicated designs and techniques, but here are some exercises you can try that will strengthen your skills!
1) Straight line worksheets
For this, just use a piece of bookbinding paper, or even make your own straight lines on a piece of paper. Make sure you are holding the cone so that the henna flows easily (at a slight angle to the floor). Once you start creating straight lines consistently, you’re ready to move on to more complex skills!
2) Circle training
And now we move from straight lines to circles. For this exercise, try two different types. First, outline a circle and don’t fill that outline. Continually practice this outline until your circles are nearly perfect. Next, fill in your circles with henna. Path to follow! Once you master the circles, we can move on to the next skill
3) Simple floral patterns
Hindu henna focuses on floral designs, so if you are interested in this style, make sure you understand the technique of the different petals. I recommend drawing a floral design that interests you on a sheet of paper, and using that sketch as an outline for the henna, and practicing the henna placement movements on your outline.
Well done! Now you can try the image below. As you can see, the pattern may look complicated, but everything is based on the above skills of circles and petals.
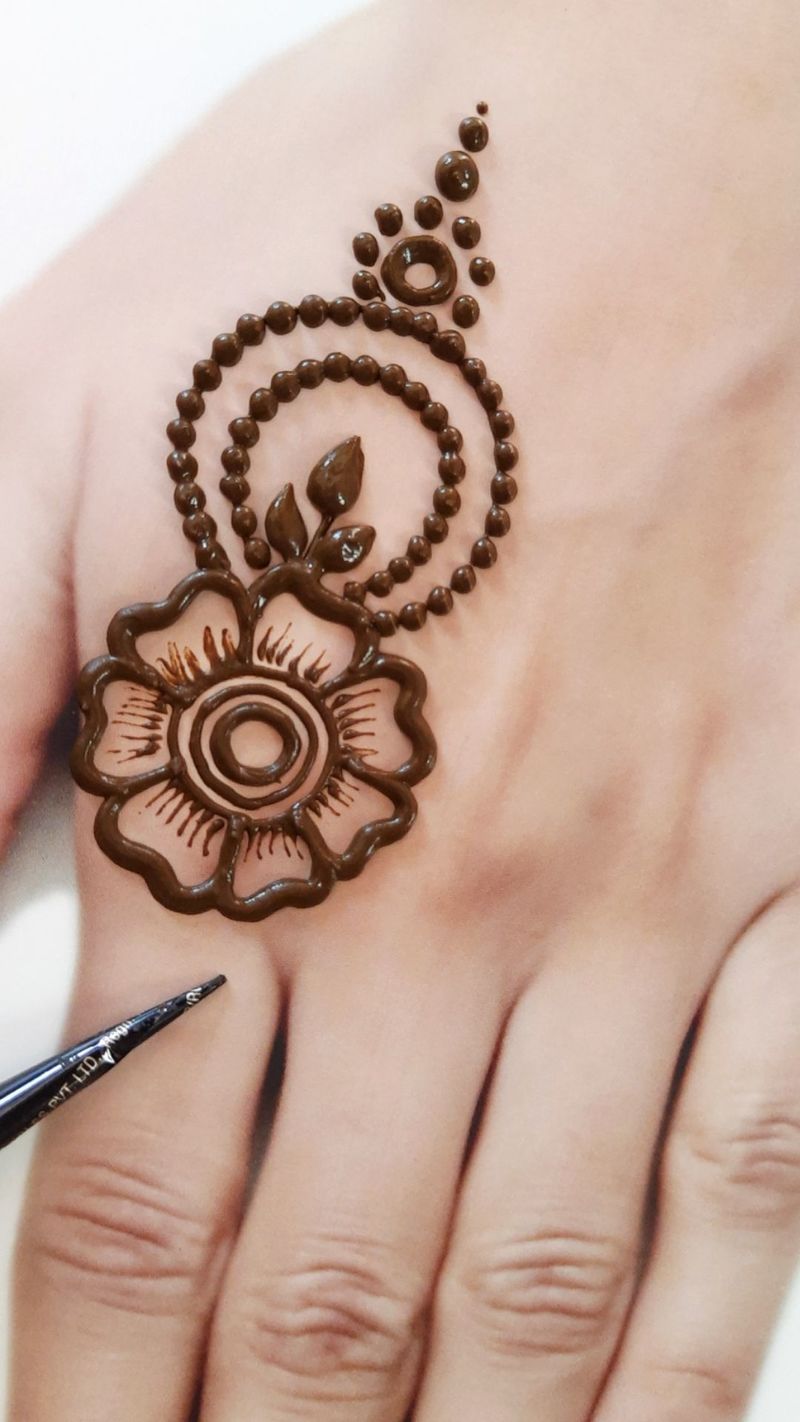
If you managed to create the pattern: great job! With continued practice, you can improve and eventually create more intricate and intricate designs.
If you made a mistake or it didn’t go as you expected: Congratulations! It’s good that you tried. All it takes is more practice, but with that practice comes amazing designs and an outlet for creativity.
Have fun on your henna journey!