[ad_1]
Are you planning to try your hand at photography? If not, you should be! It’s an amazing and truly fulfilling hobby. From taking photos to sharing them with others, the whole process is so much fun. However, it can be difficult to know where to start. In this article, I’ll tell you all the basics you need to know to not only start your journey as a photographer, but also to start taking some really cool photos.
You don’t need a camera right away

Honestly, it’s easier to take better quality photos with a camera. However, phone cameras have come a very long way. You can take great photos just by using your smartphone. I recommend trying to take pictures on your phone before investing in a camera to make sure you like it. A camera is an expensive investment for a hobby you don’t even care about. Plus, you can still take great pictures without a camera. #iphonephotography has nearly fourteen million posts on Instagram. In fact, there are accounts on Instagram whose goals are to post professional-looking photos using only their phones.
Decide what type of photography interests you
From macro to sports, there is a type of photography for everyone. I recommend trying out different types of photography to figure out what you like. Eventually, you may decide to focus on one type of photography, or you may continue to photograph many different subjects. In any case, it is absolutely correct! I do, however, recommend trying out different types of photography when you’re just starting out, because you never know what excites you. When I started photography, I intended to focus on portraits. Then I realized that I really like nature photography. I still love portraits too, but now I have even more aspects of photography that excite me. Here are different types of photography you could try:
- Wildlife/Nature
- Sports
- Portrait
- Macro
- Countryside
- Street
Follow other photographers on social networks
There is a whole community of photographers on Instagram and other social platforms. The other photographers are super welcoming and encouraging. Also, seeing the work of other photographers can be very inspiring. Whenever I see other photography accounts, I feel very encouraged to take pictures. Seeing other photographers take great photos motivates me to keep working and improving. It can also give you ideas for styles or poses you want to try. I have a collection on Instagram where I put photos that inspire me. It’s very handy when I want to do a shoot, but I don’t know what to photograph. I’ve included a few posts from my favorite photographers on Instagram as examples in this article. They take great photos and I highly recommend checking them out if you want to check out more photography accounts.
See this post on Instagram
Experiment with manual modes
Most cameras will come with an auto mode as well as several other modes. Auto mode is generally the easiest mode to use, but if you want to develop yourself further as a photographer, you might want to try some of the other modes. They will allow you to have more control over the photo you capture and make it look the way you want. Your camera will likely have a manual mode. It might seem daunting at first, so I recommend sticking with it by trying out some modes that only allow you to adjust certain parameters. To do this, you will need to know what these parameters correspond to. Here are two settings that are fairly simple to adjust, but can allow you to take your photography in more creative directions.
Opening
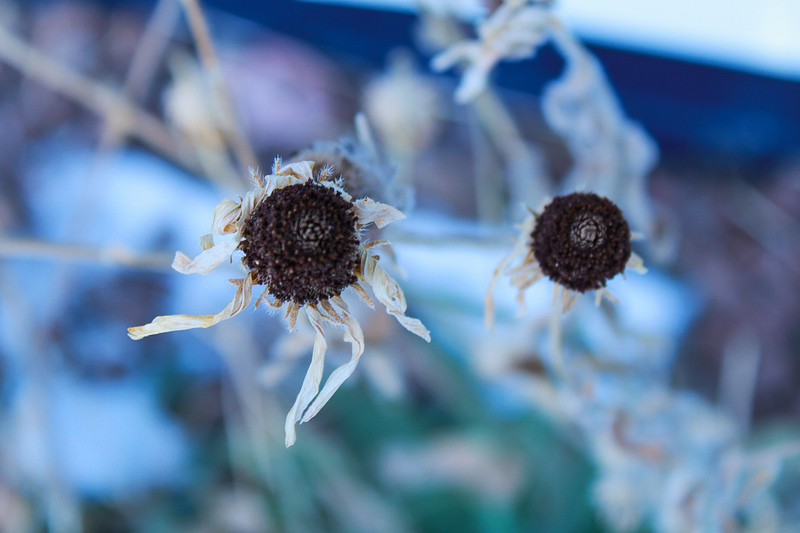
Aperture controls how far your lens is open. It controls the depth of field of your photo. A smaller aperture will have a smaller depth of field, while a larger aperture will have a greater depth of field. The photo below is an example of the effect a smaller aperture would have on the final photo.
Shutter speed
Shutter speed is, as it seems, your camera’s shutter speed. Basically, it’s the time it takes for your camera to take a picture. Slow shutter speeds will blur your photo if you’re taking a picture of something moving, while a faster shutter speed will result in less blur. It really depends on what you are looking for. The photo below shows the effect you can achieve by using a slower shutter speed.
See this post on Instagram
Play with the format
Some subjects seem better framed differently than others. You may have heard of the rule of thirds before. Basically, it’s a principle that means if you divide your photo into thirds, the photo will be more compelling if your subject is on one of those thirds. Here is an example :
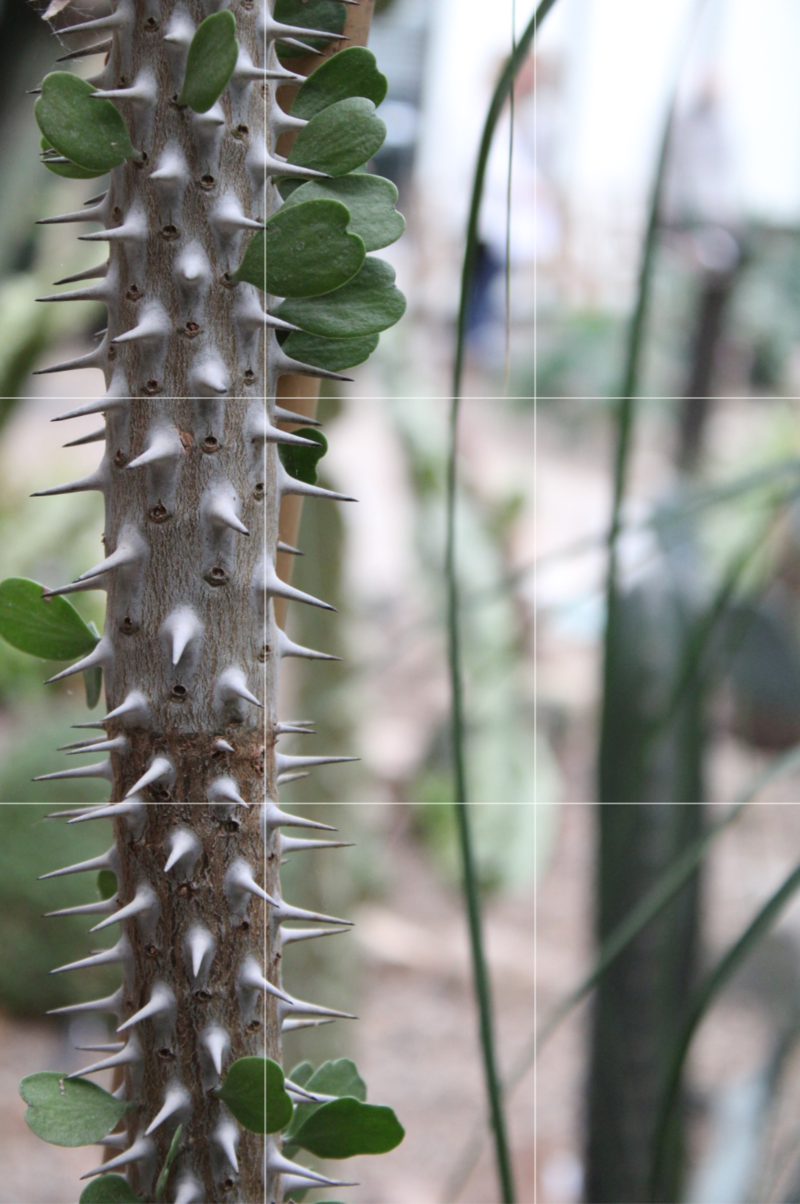
This photo is appealing to the eye because the plant in the photo is on one of the third rows. Other strategies to try are to fill the frame with the subject instead of taking photos with lots of background space as this will create more visual interest and to try horizontal and vertical layouts to see what you like the most.
Experience!
I’ve been emphasizing this a lot throughout this article, but the most important piece of advice I can give you is this: don’t be afraid to experiment with photography and have fun! You might not take great photos at first, but if you enjoy it, that’s all that matters. Plus, if you stick with it, you’ll soon be taking some jaw-dropping photos. Don’t be afraid to try different angles or poses than you usually do. You never know if a photo will be successful until you take it, so take plenty!
I hope you end up loving photography as much as I do. It really is such a fulfilling hobby that I recommend to everyone. It’s an incredible creative outlet. If you’re hesitant to try it, go for it! I seriously doubt you’ll regret it.